pin360 Docs
Everything you need to pin 360° panoramas to floor plans and share professional inspection reports.
Getting Started#
pin360 lets engineering teams pin 360° panoramic photos directly onto PDF floor plans — so anyone can understand exactly where on site a photo was taken.
Quick Start (5 minutes)
- Start free at pin360.io
- Create a Project (e.g.
Tower Bridge Inspection) - Add a Building or structure within that project
- Upload a PDF floor plan
- Click anywhere on the plan to drop your first marker
- Attach a 360° photo to that marker
- Share the view with a client using the Share button
Terminology
pin360 uses a few specific terms throughout the app and these docs:
Project— a building or site (e.g. "Tower Bridge Inspection")Building— a floor or level within a project (some projects use this for "area" on a site)View— a single floor plan page (a PDF) within a buildingMarker— a blue sphere pinned on a view marking where a 360° photo was takenSeverity pin— an inspection finding (crack, defect, etc.) pinned on a view, colour-coded by severity
Projects#
A project is the top-level container for a building or site. Each project can have multiple buildings (or areas, for sites), and each building can have multiple floor plan views.
Organizing projects
- Use one project per building or site — not per inspection visit. Repeat visits (e.g. construction progress walks) add new captures to the same project over time.
- Projects can be archived (not deleted) once a job is complete — archived projects stay searchable but move out of the active list.
Team access
Everyone in your organization can see all projects by default. Manage who's in your organization from Settings → Team.
Floor Plans#
Supported formats
- PDF (all versions) — recommended
- Multi-page PDFs supported; choose the page to display
Upload limits
- Up to 50MB per PDF
- Pages are rendered at high resolution for accuracy
Tips
- Use the original engineering drawing PDF for best quality
- If your PDF is very large, compress it first (Adobe Acrobat, Smallpdf)
Markers#
Two types of markers are available on any floor plan:
Mark exactly where you stood to take a 360° panoramic photo. Click to open the immersive panorama viewer.
Log defects, issues, or points of interest. Colour-coded by severity:
- Critical — red
- High — orange
- Medium — yellow
- Low — green
360° Photos#
Compatible cameras
Any camera that produces equirectangular (2:1 ratio) JPEG images:
- Insta360 ONE X2, X3, RS
- Ricoh Theta series
- GoPro MAX
- iPhone/Android with Google Street View app
- Any 360° camera app that exports equirectangular JPEG
Uploading
Select a marker → click Attach 360° → choose your file. Images are processed in the background. The viewer will load as soon as processing is complete.
Viewing
Click any blue sphere marker to open the panoramic viewer.
- Drag to look around
- Scroll to zoom
- Full-screen mode available
Point Clouds & Splats#
In addition to PDF floor plans, pin360 supports 3D Gaussian splat and point cloud scenes as a view type — walk through the actual 3D scan instead of a 2D drawing, with the same marker and severity pin workflow.
Supported formats
- Single-file:
.ply,.ksplat,.splat,.spz - XGRIDS / Lixel exports: zip the full
.lcc2ormeta.lccexport folder and upload the.zip
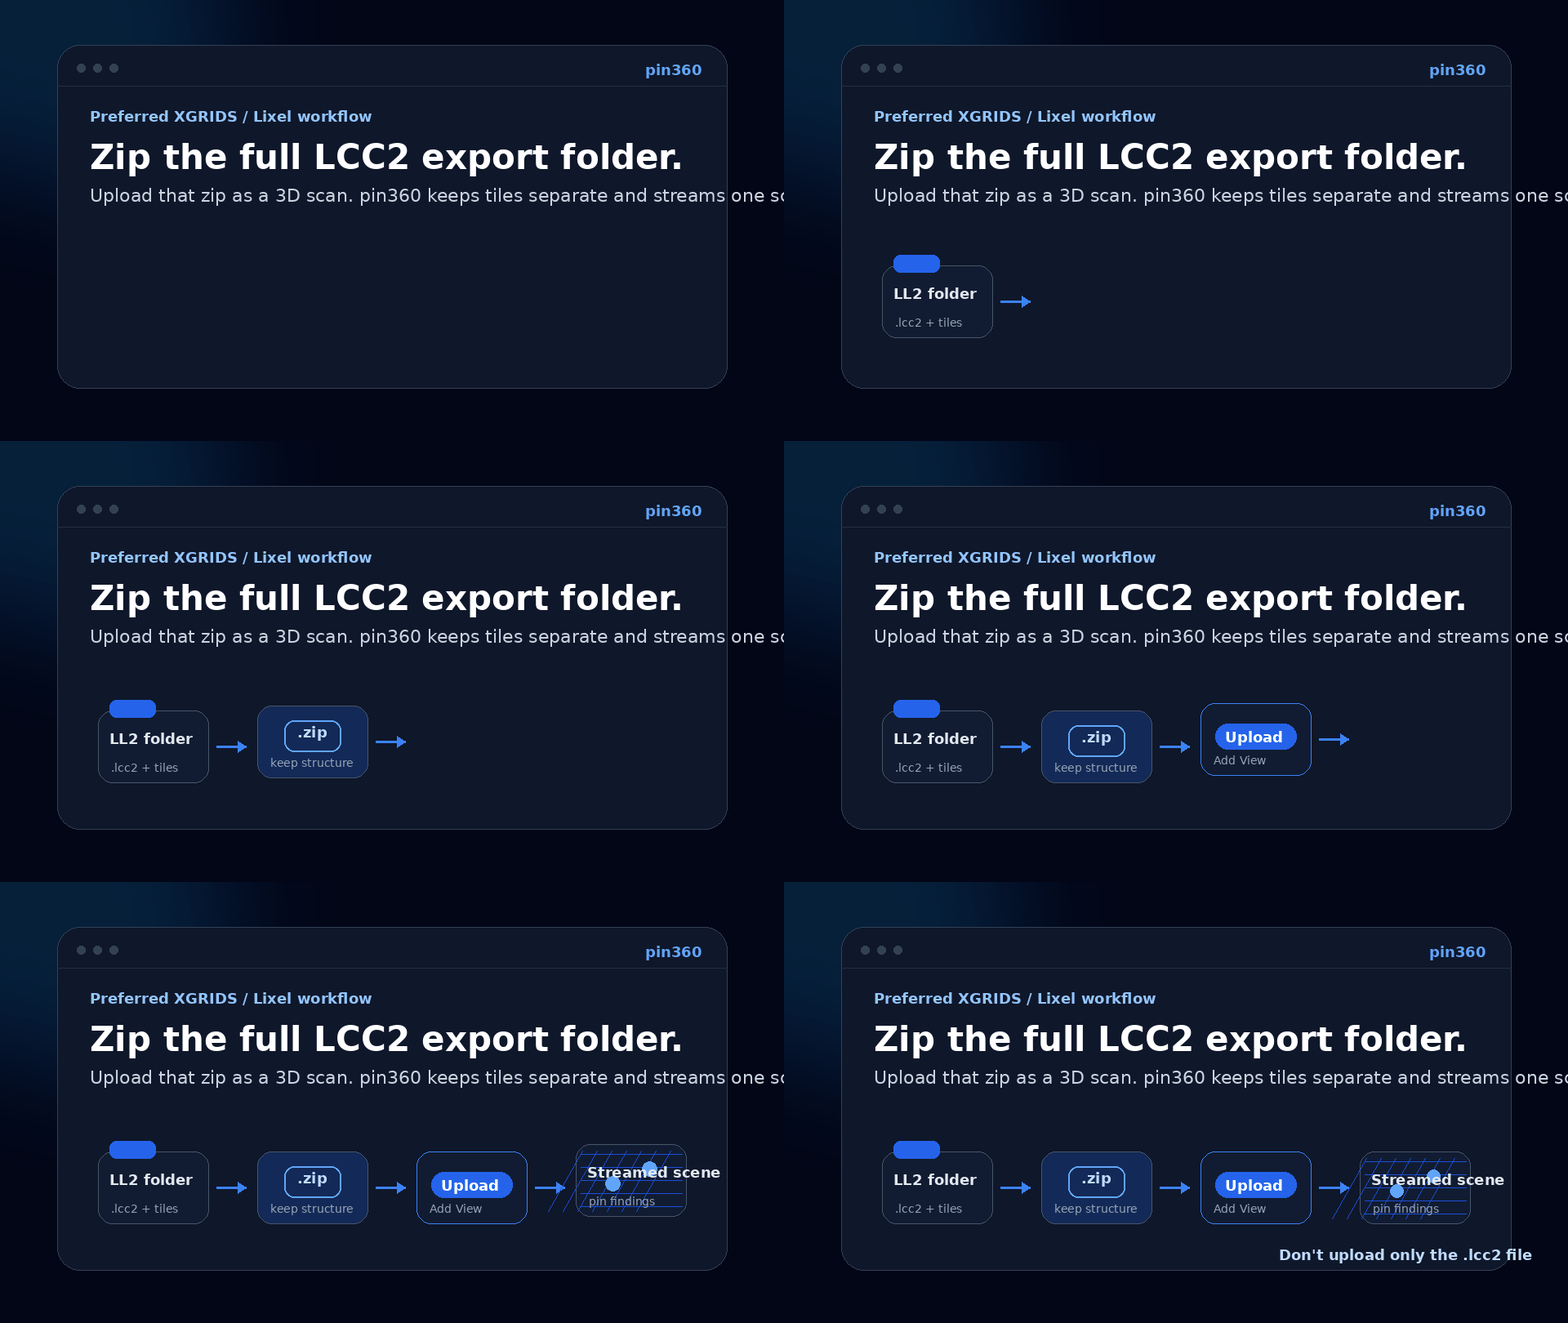
Preferred XGRIDS / Lixel workflow
- Export from Lixel Studio / XGRIDS as LCC2.
- Keep the whole export folder intact — the
.lcc2manifest and tile files must stay together. - Zip the folder itself. Do not upload only the
.lcc2file. - In pin360, choose
Add View → 3D scanand upload the zip.
Processing time
Large scans (hundreds of MB) take longer to process than photos — processing runs in the background and the scene becomes available once complete.
Measurements
Inside a splat scene, take point-to-point distance measurements directly in the 3D view. For scans from metric-accurate scanners (e.g. LiDAR SLAM devices), measured distances are real-world metres.
Field & Mobile#
Tablet capture
On a tablet (e.g. iPad), tapping a floor plan opens a bottom sheet to choose between placing a 360° marker or logging an inspection finding, then captures a photo directly with the device camera.
Placing markers on touch devices
Tap the plan the same way you would click it on desktop — a menu appears letting you choose between a 360° Marker and an Inspection Finding, then capture a photo directly with the device camera.
Working offline
If you lose connection on site, captures are queued on the device and uploaded automatically once you're back online — nothing is lost. A pending-captures indicator shows how many items are waiting to sync.
Inspection Reports#
Logging a finding
Click (or tap, on mobile) anywhere on a view and choose Inspection Finding from the menu to log a finding with a severity level, description, and optional photo. See Markers for the four severity levels.
Exporting a report
Click Export Report in the floor plan toolbar to open a print-optimised page of all findings, photos, and markers. Use your browser's Print function (Cmd+P / Ctrl+P) and choose Save as PDF.
Add your professional title (e.g. "CEng MIStructE") in Settings → Branding — it appears next to your name on exported reports.
Sharing#
Share Links
Generate a public link from the Share button in the floor plan toolbar. Recipients can view the floor plan and all markers without creating an account. Share links can be set to expire after a date, and can be password-protected.
Read-only vs. collaborative links
By default, share links are read-only — anyone with the link can view, no account needed. If you turn on comments for a link, it becomes collaborative: recipients can leave comments on markers, but only after creating their own free pin360 account to sign in with. Let clients/contractors know in advance if you expect them to comment, so they aren't surprised by a sign-in prompt.
Report Export
Click Export Report to open a print-optimised view of all markers. Use your browser's Print function (Cmd+P / Ctrl+P) and choose Save as PDF.
Billing & Team#
Plans
Manage your plan and payment details from Settings → Billing. Each plan includes a storage quota shared across all projects in your organization.
Free creation allowances
Free keeps one Active Project. In any rolling 30-day period, an organization can start one real project and add three Evidence Views (plans, maps, or 3D views) plus 20 Evidence Items (photos or findings). This is not a calendar-month reset: each unit becomes available exactly 30 days after it was used.
Deleting content does not reset a creation allowance. Existing projects, evidence, share links, edits, corrections, exports, archives, and permanent deletion remain available when a balance reaches zero. Starter removes the rolling creation limits. Annual Starter is charged in full at £348/year plus VAT; the alternative is £35/month plus VAT. Stripe shows the final tax before payment.
Team members
Invite teammates from Settings → Team. All members can see and edit every project in the organization.
Troubleshooting#
Upload fails immediately
- Floor plans must be PDF, up to 50MB
- 360° photos must be equirectangular (2:1 ratio) JPEGs
- For XGRIDS/Lixel LCC2 uploads, zip the full export folder. Uploading only the
.lcc2file will miss the tile data. - If a large panorama or splat scene upload seems stuck, give it time — larger files take longer to process in the background before the viewer becomes available
FAQ#
Do my clients need to create an account to view?
No. Share links work without any login — clients can view the floor plan and all markers immediately.
What cameras work for 360° photos?
Any camera producing equirectangular JPEG images (2:1 ratio). Insta360, Ricoh Theta, GoPro MAX, and most 360 camera apps all work.
Can I use regular (non-360°) photos?
Yes. Upload them as 2D photos on any marker — they'll appear in the marker's photo gallery.
Is my data secure?
Files are stored in Cloudflare R2 with data encrypted at rest and in transit. We don't access your files.
What file formats are supported for floor plans?
PDF only currently. DWG/DXF import is on the roadmap.
Do clients need an account to comment on a shared view?
Only if you've turned on comments for that share link (a collaborative link). Read-only links never require an account.
Can I import a point cloud or 3D scan?
Yes — pin360 accepts .ply/.ksplat/.splat/.spz files, plus zipped XGRIDS/Lixel LCC2 export folders. For XGRIDS, zip the whole export folder and upload it as a 3D scan. See Point Clouds & Splats above.
What happens if I lose connection while capturing on site?
Captures are queued on your device and upload automatically once you're back online. See Field & Mobile above.